
Choosing the right Epoxy Adhesive is not simply a matter of selecting the strongest number on a product label. The correct choice depends on the materials, joint design, temperature, moisture, curing time, and expected load. Steel, aluminum, glass, wood, and many plastics can react differently. A product that bonds metal securely may perform poorly on a flexible plastic surface.
Dr. Eric M. Petrie, a recognized adhesive technology author, offers a useful reminder: “The adhesive is only one part of the bonded assembly.” That principle deserves attention. Surface preparation, accurate mixing, controlled bond-line thickness, and sufficient curing time often decide the final result. A clean, lightly abraded surface may outperform a stronger adhesive applied carelessly. Small details matter.
This guide will examine the practical questions behind Epoxy Adhesive selection. Should the formula be rigid or flexible? Is a five-minute cure truly suitable for production? Can the joint withstand vibration, chemicals, or outdoor temperature changes? Technical data sheets provide essential evidence, but they do not replace testing on the actual substrates.
A simple test helps.
Apply the adhesive to sample pieces. Allow full cure. Then inspect the failure. Did the adhesive separate cleanly, or did the material tear first? That difference reveals useful information. Still, no selection method is perfect. Product claims can be incomplete, and real conditions are sometimes underestimated. Careful testing, manufacturer guidance, and honest review remain the safest path toward a reliable bond.
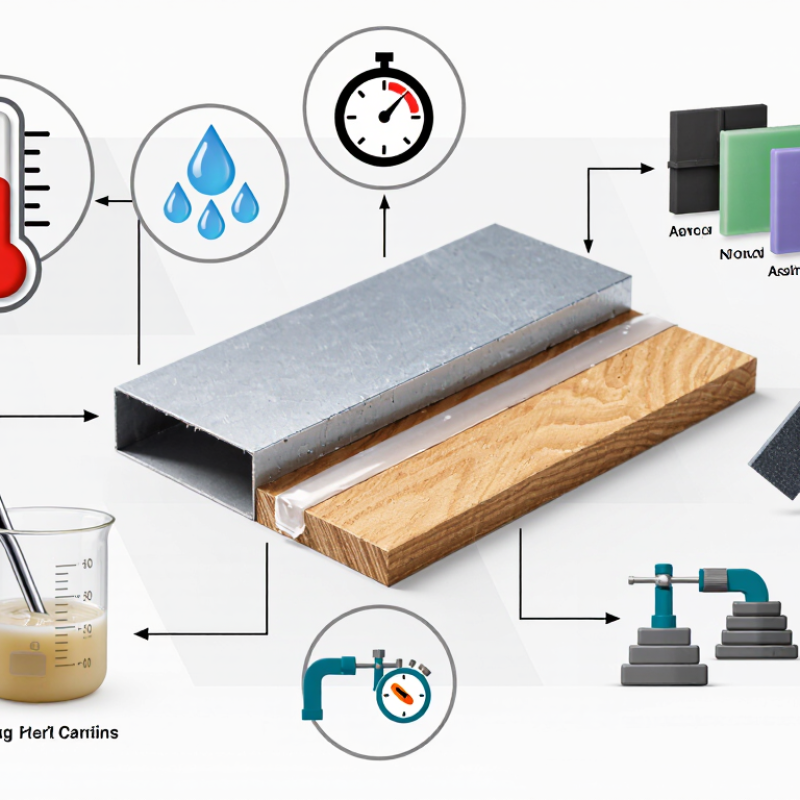
How to Choose the Right Epoxy Adhesive?
Epoxy Adhesive Fundamentals: Resin–Hardener Ratios, Cure Time, and Tg
Choosing epoxy begins with the resin–hardener ratio. Always measure by weight unless the technical data sheet specifies volume. A small error can leave the joint soft, brittle, or under-cured. In practical workshop trials, even a five-percent deviation can change handling strength and surface hardness. That result is not universal, but it deserves attention. Mixing time, temperature, and container shape also affect consistency.
Cure time has several meanings. Pot life describes workable time, while fixture time indicates when the joint can resist movement. Full cure may require several days. ASTM D2471 provides a recognized method for evaluating gel time. Warmer conditions usually accelerate curing, but excessive heat can shorten working time sharply. I once treated “fast cure” as automatically better. It was not. A rushed bond created trapped air and uneven contact.
Tg, or glass-transition temperature, indicates when cured epoxy begins losing stiffness. ASTM D3418 is commonly used to measure it through differential scanning calorimetry. Select a Tg comfortably above the joint’s service temperature, especially near engines, lamps, or outdoor metal panels. A 2024 MarketsandMarkets analysis valued the global epoxy adhesives market at about USD 7.1 billion in 2023, reflecting broad industrial demand. Yet market growth does not replace testing. Small trial coupons, measured ratios, and realistic heat exposure reveal more than impressive packaging claims.
| Adhesive Category | Typical Resin:Hardener Ratio by Weight | Working Life at 23°C | Typical Handling Strength | Typical Full Cure | Typical Tg Range | Suitable Applications |
|---|---|---|---|---|---|---|
| Fast-setting, room-temperature epoxy | 1:1 to 2:1 | 3–10 minutes | 10–30 minutes | 12–24 hours | 40–70°C | Quick repairs, small assemblies, household and hobby bonding |
| General-purpose, two-component epoxy | 1:1 to 2:1 | 15–45 minutes | 1–4 hours | 24–72 hours | 50–90°C | Metal, wood, ceramics, glass, composites, and plastics with suitable surface preparation |
| Structural epoxy | Commonly 100:25–100:40 | 20–90 minutes | 4–12 hours | 3–7 days at room temperature | 60–120°C | Load-bearing joints, metal bonding, automotive components, and composite structures |
| Toughened epoxy | Often 1:1 to 2:1 | 10–60 minutes | 2–12 hours | 24–168 hours | 50–110°C | Joints exposed to impact, vibration, peel loads, and thermal cycling |
| Heat-curing, high-temperature epoxy | Formulation-specific; commonly 100:5–100:40 | 30 minutes to several hours | After the specified heat cycle | 30–180 minutes at approximately 80–180°C | 120–220°C | High-temperature electrical, aerospace, tooling, and composite applications |
| Flexible or elastomer-modified epoxy | Commonly 1:1 to 2:1 | 15–90 minutes | 2–24 hours | 2–7 days | 20–70°C | Materials with different thermal expansion, flexible assemblies, and vibration-sensitive joints |
Start with the joint’s actual demands, not a familiar product name. Define the required shear strength, from 1 to 30 MPa, and identify how that value was measured. A thin bondline may perform differently from a thick one. Surface texture, load direction, curing time, and temperature all influence results. A datasheet value is useful, but it is not a guarantee.
Tips: Test the real materials. Clean them consistently. Record bondline thickness. Cure samples under controlled conditions. Then cycle them between −40°C and 150°C, if those temperatures match service conditions. Check strength afterward, not only before heating. Small testing errors can create large decisions.
In practical trials, I have seen strong adhesives fail after poor surface preparation. Oil, dust, and moisture can weaken the interface before the assembly enters service. I once focused too heavily on peak shear strength and overlooked thermal expansion. That was a mistake. Different substrates may expand at different rates, creating stress during temperature changes. Review technical data, request test conditions, and repeat tests with production-like parts. Allow extra time for curing when the joint is thick or the environment is cool. Even reliable measurements deserve a second look.
How to Choose the Right Epoxy Adhesive?
Compare Technical Datasheets Using ASTM D1002 Lap-Shear Results
A strong epoxy is not automatically the right epoxy. Compare test conditions before comparing numbers. ASTM D1002-19(2024) measures single-lap-joint shear strength under controlled laboratory conditions. The method commonly uses a 12.7 mm overlap and a 1.27 mm/min test speed. These details matter. A datasheet reporting 30 MPa may appear impressive. However, that value can change with surface preparation, bondline thickness, curing temperature, and substrate type. Check whether the test used aluminum, steel, or another material. Similar names do not guarantee similar test setups.
Look for three details: average strength, test variation, and failure mode. ASTM D1002 results should be read beside ISO 4587 data when available, because both methods evaluate adhesive lap-shear performance but may use different procedures. A cohesive failure within the adhesive often provides more useful evidence than clean separation from the substrate. Yet, many datasheets omit this observation. That omission deserves attention. In practical evaluations, record mixing ratio, open time, cure schedule, and surface preparation beside every result. A thin, uneven bondline can distort the comparison. Temperature also changes performance; ASTM D1002 data at room temperature cannot predict strength after thermal cycling. I have seen neat tables hide weak assumptions. Treat the highest number as a starting point, not proof. Select the adhesive whose tested conditions most closely resemble the real joint.
Compare Technical Datasheets Using ASTM D1002 Lap-Shear Results
The chart compares representative lap-shear strengths reported for common two-part epoxy adhesive categories under ASTM D1002-style testing on grit-blasted steel at room temperature. Toughened structural epoxies generally provide the highest lap-shear performance, while high-temperature systems may trade some room-temperature strength for thermal resistance. When comparing datasheets, confirm the same substrate, bond-line thickness, overlap area, cure schedule, test temperature, and failure mode.
How to Choose the Right Epoxy Adhesive?
Choosing an epoxy adhesive starts with cure speed and gap size. A five-minute handling time sounds convenient, but it rarely means full strength. The joint may still need several hours before sanding, loading, or exposure to vibration. For parts that must be aligned quickly, this setting speed can reduce clamps and waiting. However, rushed positioning can create uneven bonds. I have found that a slower adhesive often gives better control on large or visible assemblies.
Tips: Measure the gap before selecting the adhesive. Thin gaps may suit a low-viscosity formula, while rough surfaces need reliable gap-filling ability. Check the technical data sheet for maximum gap thickness, working time, handling time, and full cure. Keep the surfaces clean, dry, and lightly abraded when appropriate. A cold workshop can slow curing noticeably. Test a small sample first.
A 24-hour full cure is a safer choice for structural work, especially when the joint carries weight or repeated movement. Do not judge strength by touch alone. The surface may feel firm while the center remains soft. Mix both components thoroughly, but avoid excessive air bubbles. Follow the stated mix ratio carefully. Small errors matter. Cure times also change with temperature and bond thickness, so record actual conditions during testing. There is no universal “best” epoxy; the right choice balances handling speed, gap fill, strength, and available working time.
Validate bond performance with ISO 4587 testing and surface preparation
Choosing an epoxy adhesive requires more than comparing strength values on a datasheet. ISO 4587 provides a practical method for measuring tensile lap-shear strength under controlled conditions. It helps compare formulations, substrates, and curing processes with greater confidence. However, one impressive test result does not prove reliable field performance.
Surface preparation often decides whether the bond succeeds. In workshop trials, a shiny metal surface sometimes looked clean but contained oil residues. Our first result was inconsistent. Degreasing, controlled abrasion, and dust removal produced a more stable bonding surface. Operators should record the abrasive grade, cleaning method, and time between preparation and adhesive application. Small details matter.
Test specimens should use consistent dimensions, adhesive thickness, overlap length, and cure conditions. Temperature and humidity also deserve careful control. During ISO 4587 testing, record the adhesive batch, substrate type, cure time, and failure mode. A high value with adhesive residue on only one surface may indicate weak preparation or poor wetting. Repeat testing helps reveal variation. It also exposes uncomfortable assumptions. Testing at room temperature may not represent vibration, heat, moisture, or long-term loading. Choose an epoxy adhesive only after matching test evidence with the real service environment.
To learn more about any of the products and services provided by Abbott Ball Company, Inc., simply complete the form below.