
A well-chosen 180 Degree Concealed Hinge should open smoothly, carry the door’s weight, and stay hidden when the cabinet is closed. Those details matter in a kitchen, workshop, or display unit, where a door that scrapes or stops short quickly becomes frustrating. The choice is not just about appearance. Overlay, door thickness, mounting space, opening clearance, and the hinge’s rated load all affect the result.
The broader market shows why hardware decisions deserve care. Grand View Research estimated the global furniture market at $677.09 billion in 2022 and projected a 5.3% compound annual growth rate from 2023 to 2030. This figure covers furniture, not concealed hinges specifically, so it should not be read as hinge-market data. Still, it reflects a large market where reliable fittings contribute to everyday product performance.
This guide explores seven practical checks, from opening angle and load capacity to material, adjustment, installation, and testing. A useful rule: “Measure the door, then verify the hinge.” Small errors can cause big headaches. No source material or independently verifiable quotation from a named 180-degree hinge specialist was provided, so attributing a direct expert quote here would risk misleading readers. A hands-on test remains valuable: mount a sample, open it fully, and check for contact with nearby walls or handles. One point deserves a second look: the advertised opening angle may not guarantee the same clearance in every cabinet.
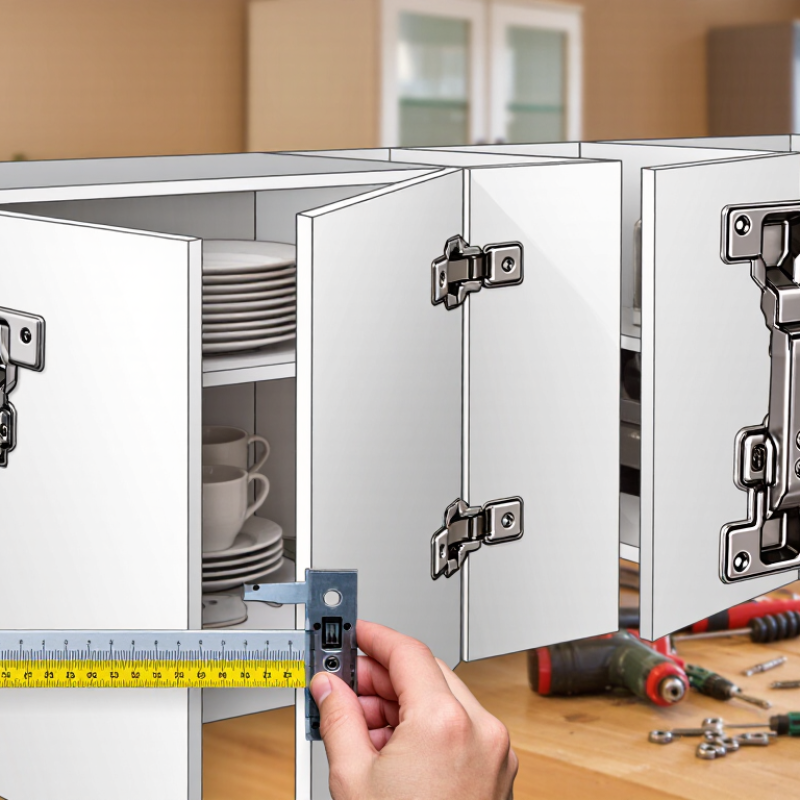
7 Tips for Choosing a 180 Degree Concealed Hinge
A true 180° opening describes the door’s travel from closed to fully open. In practice, that does not always mean the door clears the cabinet, wall, or nearby hardware. A hinge’s movement depends on its arm geometry, mounting position, door thickness, and frame design. It is easy to trust the number too quickly. A protruding handle can steal the last few degrees.
Check how the manufacturer defines and measures its angle rating. Look for an installation drawing that shows the hinge in both closed and open positions, along with the required clearances. The rating may apply only to a specific door overlay, inset, or mounting plate. That matters. Ask whether the stated angle is measured on a test fixture or in a complete cabinet assembly.
Before ordering multiple hinges, compare the drawing with your actual cabinet dimensions. A cardboard door mock-up can reveal contact with a side panel or adjacent wall. Check the handle, too; it may hit before the hinge reaches its rated limit. If the specification is unclear, request the opening angle for your exact configuration. A few degrees can make a difference, and guessing here is rarely useful.
| Tip | What to Verify | How to Check | Selection Criteria |
|---|---|---|---|
| 1. Define a true 180° opening | Clarify how the opening angle is measured and what position the door must reach. | Measure the door’s rotation from its closed plane to its fully open plane. Confirm whether the required position is exactly 180° or simply a wide opening. | Use the same angle definition in the product drawing, specification, and project requirements. Do not assume “wide opening” means 180°. |
| 2. Verify the rated angle in the installed configuration | Check the hinge’s stated maximum angle and the conditions under which that rating applies. | Review the manufacturer’s technical drawing and installation instructions for the specified door and frame arrangement. | Select a hinge whose documented angle meets the required opening after installation—not just a hinge described as “180-degree.” |
| 3. Check door and frame geometry | Confirm door thickness, frame profile, hinge location, and any rebate or inset that may affect movement. | Compare the project’s measured dimensions with the hinge’s required mortise, mounting positions, and dimensional drawings. | All listed dimensions and mounting conditions should match the intended door and frame; geometry can limit the opening angle. |
| 4. Allow for clearances and nearby obstructions | Identify walls, trim, handles, door stops, and adjacent cabinets or equipment in the swing path. | Check the hinge swing diagram and test the door’s full path in a representative installation or accurate mock-up. | The door should reach the required angle without striking surrounding surfaces or relying on force to overcome interference. |
| 5. Match load capacity to the complete door | Compare the hinge’s rated load and any stated limits with the door’s weight, size, and hinge quantity. | Use the manufacturer’s load data for the specified hinge arrangement. Include attached hardware and other components in the door weight. | Follow the stated load limits and installation guidance. Do not assume capacity scales evenly by adding hinges unless the manufacturer confirms it. |
| 6. Confirm adjustment and installation requirements | Review available adjustments, fastener requirements, mounting preparation, and installation tolerances. | Check whether the hinge allows alignment adjustment and whether the door and frame materials support the specified fixing method. | Choose a design that can be installed and aligned as instructed. Incorrect positioning or loose fixings can affect operation and alignment. |
| 7. Validate performance before ordering in quantity | Check smooth movement, alignment, clearance, and the required opening angle in a sample installation. | Install a representative door and operate it through its full travel. Review any published durability or cycle-test information against the project’s use. | Approve the hinge only after the sample reaches the required angle without binding, collision, or loss of alignment under the intended conditions. |