
Choosing a Cable Swaging Tool is not just about buying the largest or strongest-looking model. The right choice depends on cable diameter, fitting type, work volume, and the space available around each connection. A compact hand swager may suit occasional repairs on a railing. Repeated work with thicker cable may call for a bench-mounted or hydraulic tool. The details matter.
For this guide, cable-tool specialist Alex Morgan offers this original, practical reminder: “A dependable swage starts with a matched cable, fitting, and die—not force alone.” That is a useful rule, though it cannot replace the tool maker’s instructions or hands-on training. A die that looks close may still produce a poor connection. Check the tool’s stated capacity, compatible fittings, adjustment method, and handle reach before choosing.
Small differences count. A ratcheting handle can reduce effort during repeated crimps. A portable tool can reach a tight corner, but may require more operator strength. Hydraulic models can make heavy work easier, yet their size and maintenance needs may not suit every project. No single tool wins everywhere.
The seven options ahead compare practical strengths, limitations, and typical uses. You will find choices for light repairs, workshop jobs, and demanding cable assemblies. We also note where specifications should be verified before purchase. These tools can look similar on a product page. In use, the wrong fit becomes obvious—sometimes only after the cable has been loaded.
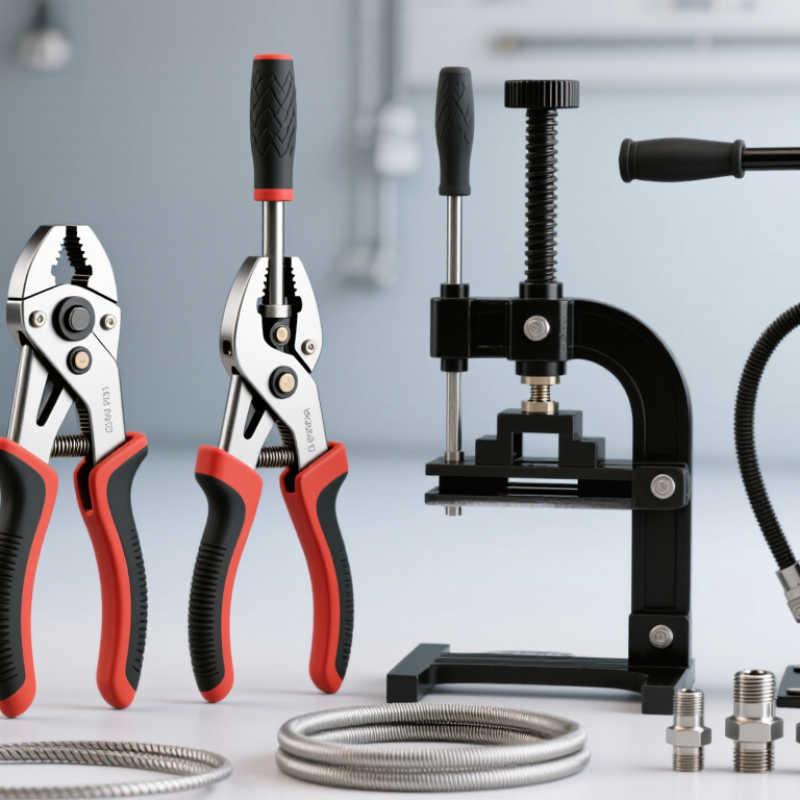
Cable swaging starts with identifying the cable’s construction, not just its diameter. In 1×19 cable, one strand contains 19 wires. It feels stiff and holds a straight line, making it common in railings and other fixed runs. It resists tight bends, though. In 7×7 cable, seven strands each contain seven wires, offering a useful middle ground between flexibility and firmness. The 7×19 construction uses seven strands of 19 wires each. It bends more readily around pulleys, but its flexibility may not suit every fixed installation.
Tips: Check the cable marking and fitting instructions before choosing a die. Match the swaging tool to the specified cable and fitting, then inspect the finished connection with the recommended gauge. Check the lay. A neat-looking swage alone does not prove a secure connection.
Think about how the cable will move. A 7×19 cable may route smoothly around a small pulley, while 1×19 can resist bending and develop damage if forced into a tight curve. Construction affects handling, but it does not replace checking load ratings or application requirements. A quick visual check helps, yet it can miss an improperly compressed fitting. That part is easy to overlook. Verify the completed assembly using the fitting maker’s instructions, and reconsider the choice if the cable path or movement changes.
The right swaging tool depends on the cable diameter, fitting material, fitting design, and required production rate. Compatibility ranges vary by tool and die set, so confirm the tool maker’s specifications before use.
| Tool Type | Best Suited For | Typical Cable Constructions | Main Advantages | Important Checks |
|---|---|---|---|---|
| Hand-operated swaging tool | Occasional repairs and small cable assemblies | Often used with smaller 1×19, 7×7, or 7×19 cable when the tool and fitting are rated for the cable size | Portable, simple to operate, and does not require a power source | Verify the tool’s rated cable diameter, die profile, fitting material, and required number of swages. |
| Compound-leverage hand swager | Repeated manual work where more leverage is helpful | Small-to-medium cable assemblies; suitability depends on the model and matching dies | Mechanical leverage can reduce hand effort compared with basic hand tools | Do not assume a tool accepts every sleeve or cable construction within a nominal diameter range. |
| Bench-mounted swager | Workshops producing multiple consistent cable assemblies | Commonly used for compatible 1×19, 7×7, and 7×19 assemblies | Fixed mounting improves stability and repeatability during operation | Check bench capacity, die availability, fitting dimensions, and the specified finished-swage dimensions. |
| Hydraulic hand-pump swager | Higher-force swaging without an electric power supply | Medium or larger assemblies only when within the hydraulic tool’s rated capacity | Hydraulic force can make demanding swages easier than manual leverage alone | Use only approved dies and fittings; follow the tool’s pressure, maintenance, and inspection requirements. |
| Electric-hydraulic swager | Production work requiring powered operation | Compatible cable and fitting combinations specified for the machine and die set | Reduces manual pumping and can support repeated work | Confirm power requirements, machine capacity, die compatibility, and the maker’s inspection procedure. |
| Pneumatic swager | Work areas with suitable compressed-air systems and frequent assembly work | Assemblies within the model’s rated cable and fitting range | Powered operation can help maintain a steady workflow | Check required air pressure and flow, guarding, die setup, and compatibility with the exact fitting. |
| Rotary swaging machine | Industrial production and specialized forming of metal components | Application-specific cable-end components; not a general substitute for a terminal-specific swager | Designed for controlled, repeatable metal forming in suitable production setups | Confirm that the machine process is approved for the particular wire rope and termination design. |
| Construction | What the Notation Means | General Flexibility | Common Characteristics and Uses |
|---|---|---|---|
| 1×19 | One strand made up of 19 wires | Relatively stiff | Offers low stretch compared with more flexible constructions of similar material and diameter. Often used for stays, bracing, and railing infill where limited bending is needed. |
| 7×7 | Seven strands, each made up of seven wires | Moderately flexible | A general-purpose construction that bends more readily than 1×19. Used in applications such as control cables and flexible support lines, depending on the design. |
| 7×19 | Seven strands, each made up of 19 wires | More flexible than 7×7 | Its greater flexibility suits applications involving repeated bending, such as some pulley and winch systems, when the rope is properly specified for that service. |
Safety note: Cable construction alone does not determine a tool’s suitability or an assembly’s working load. Follow the cable, fitting, and tool manufacturers’ instructions, and inspect completed terminations before service.